Posts mit dem Label Magengodesigns werden angezeigt. Alle Posts anzeigen

Samstag, 18. September 2021

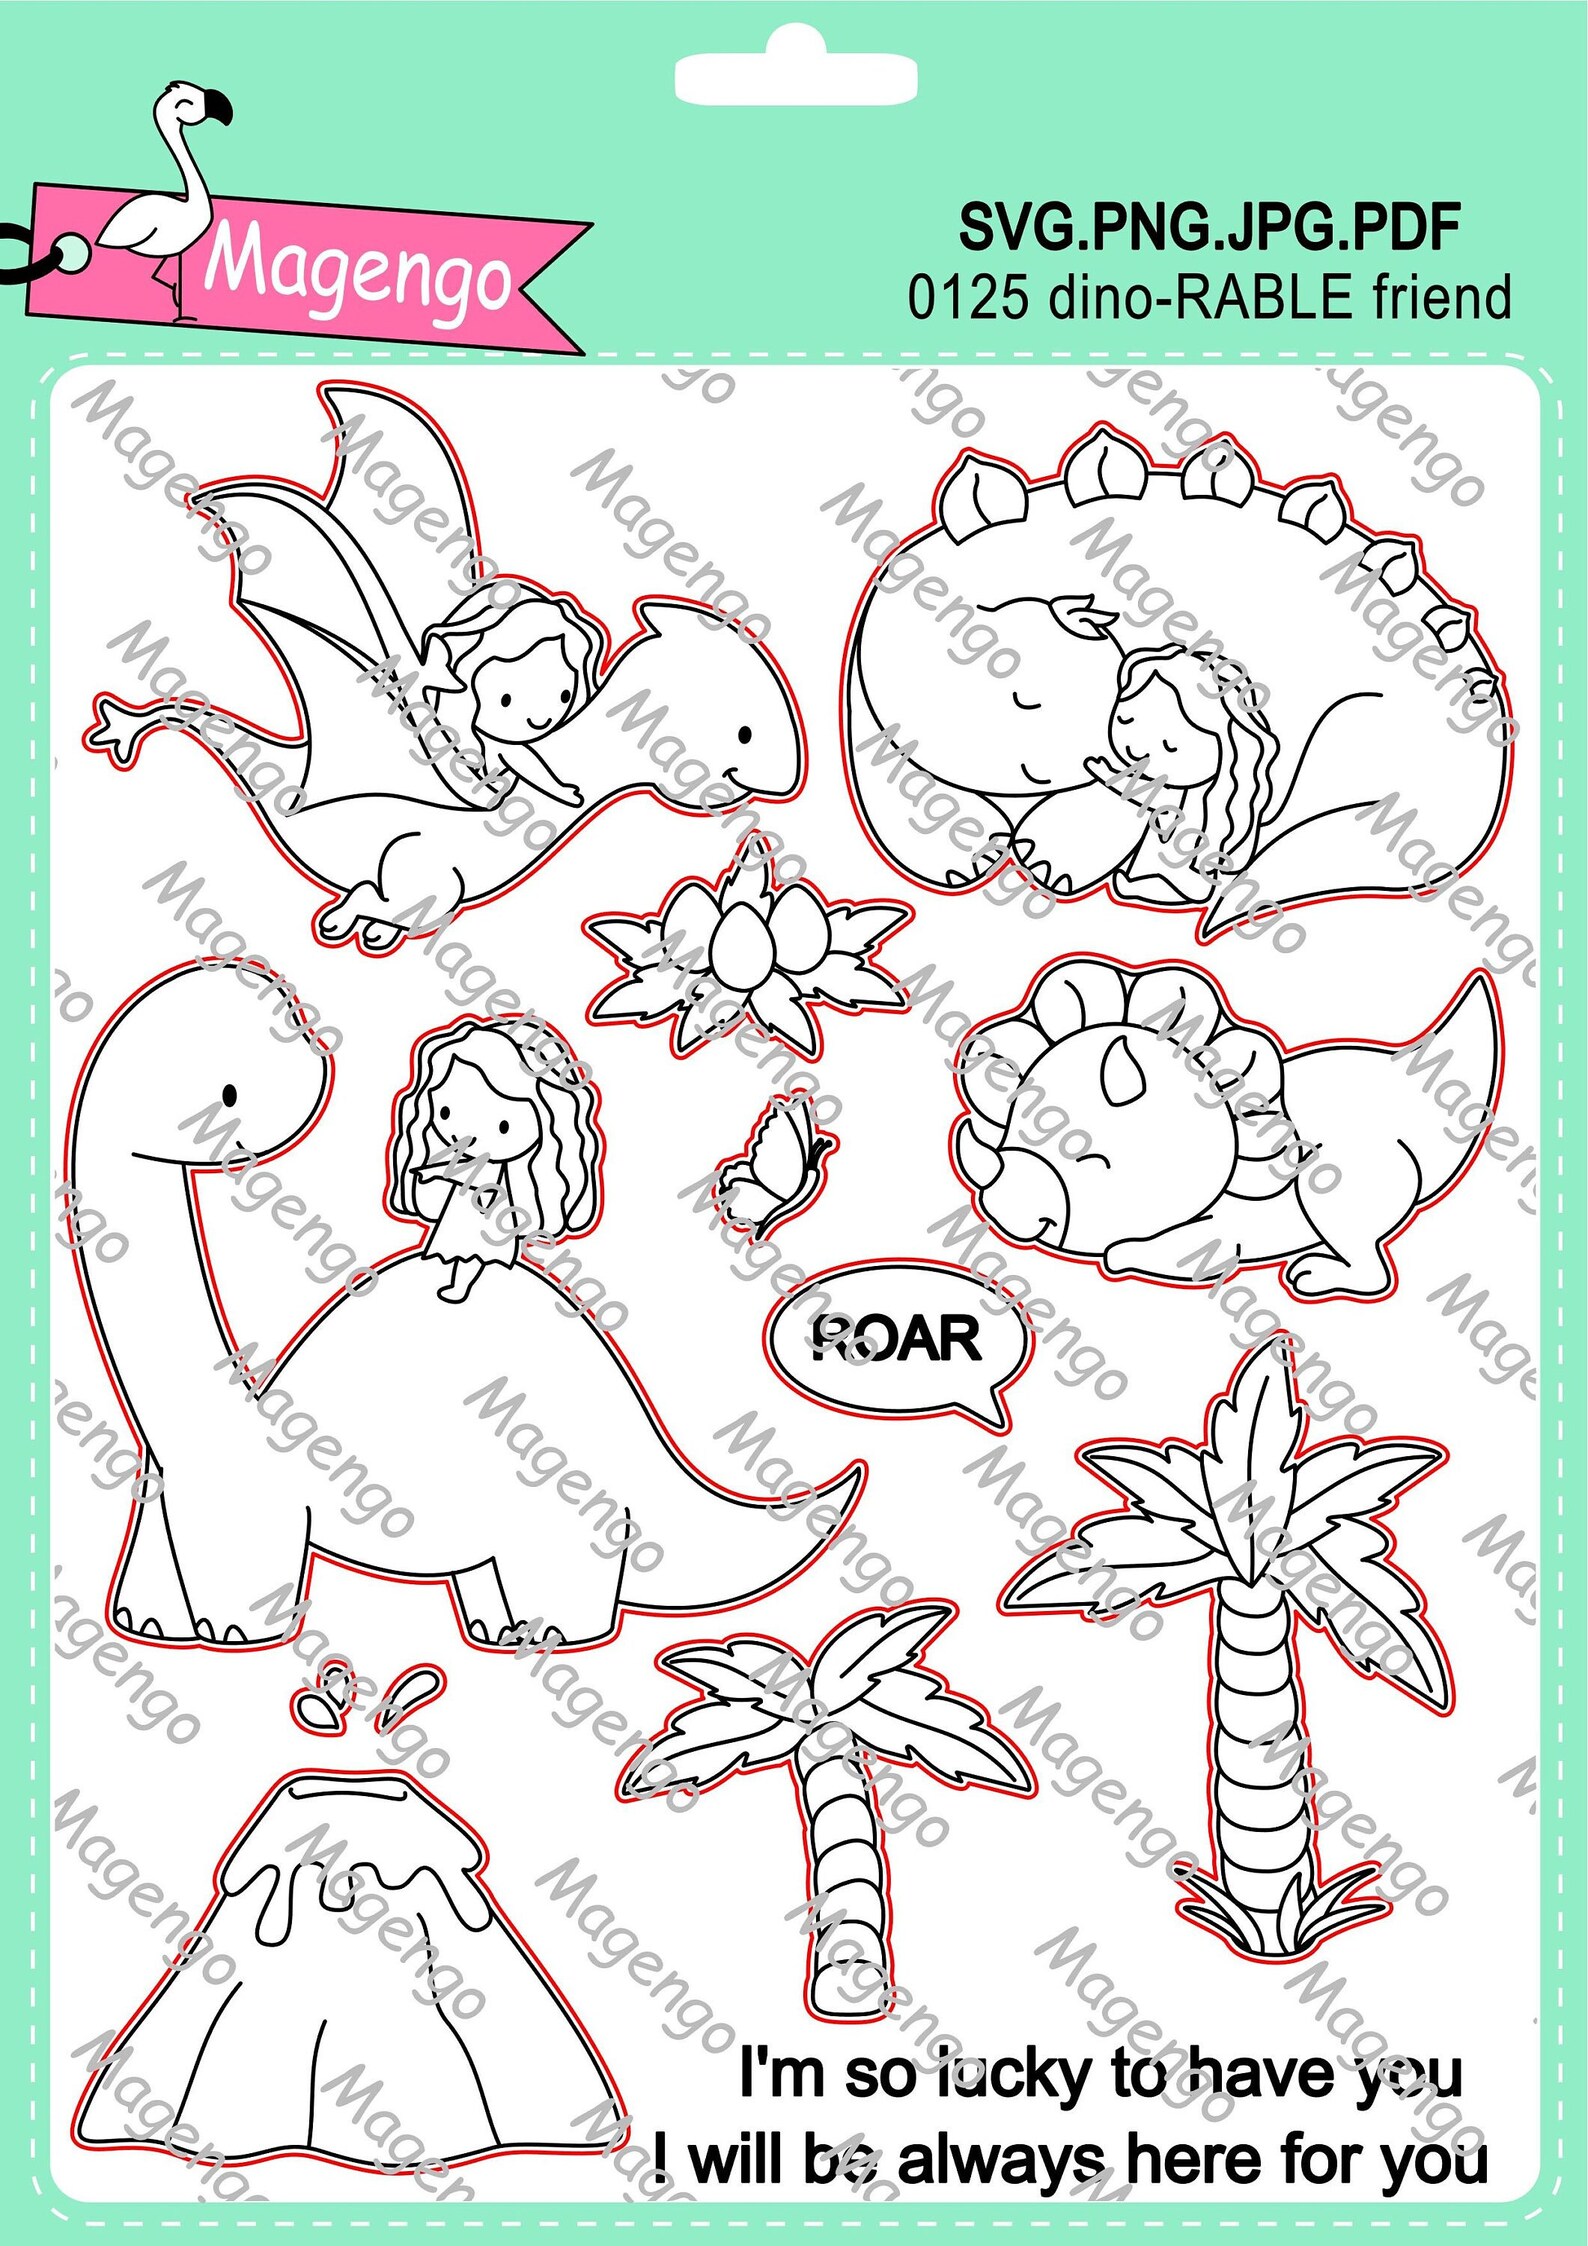
Magengo Designs | Dino Rable Friend Roar

  Hi Ute here, with a new inspiration!


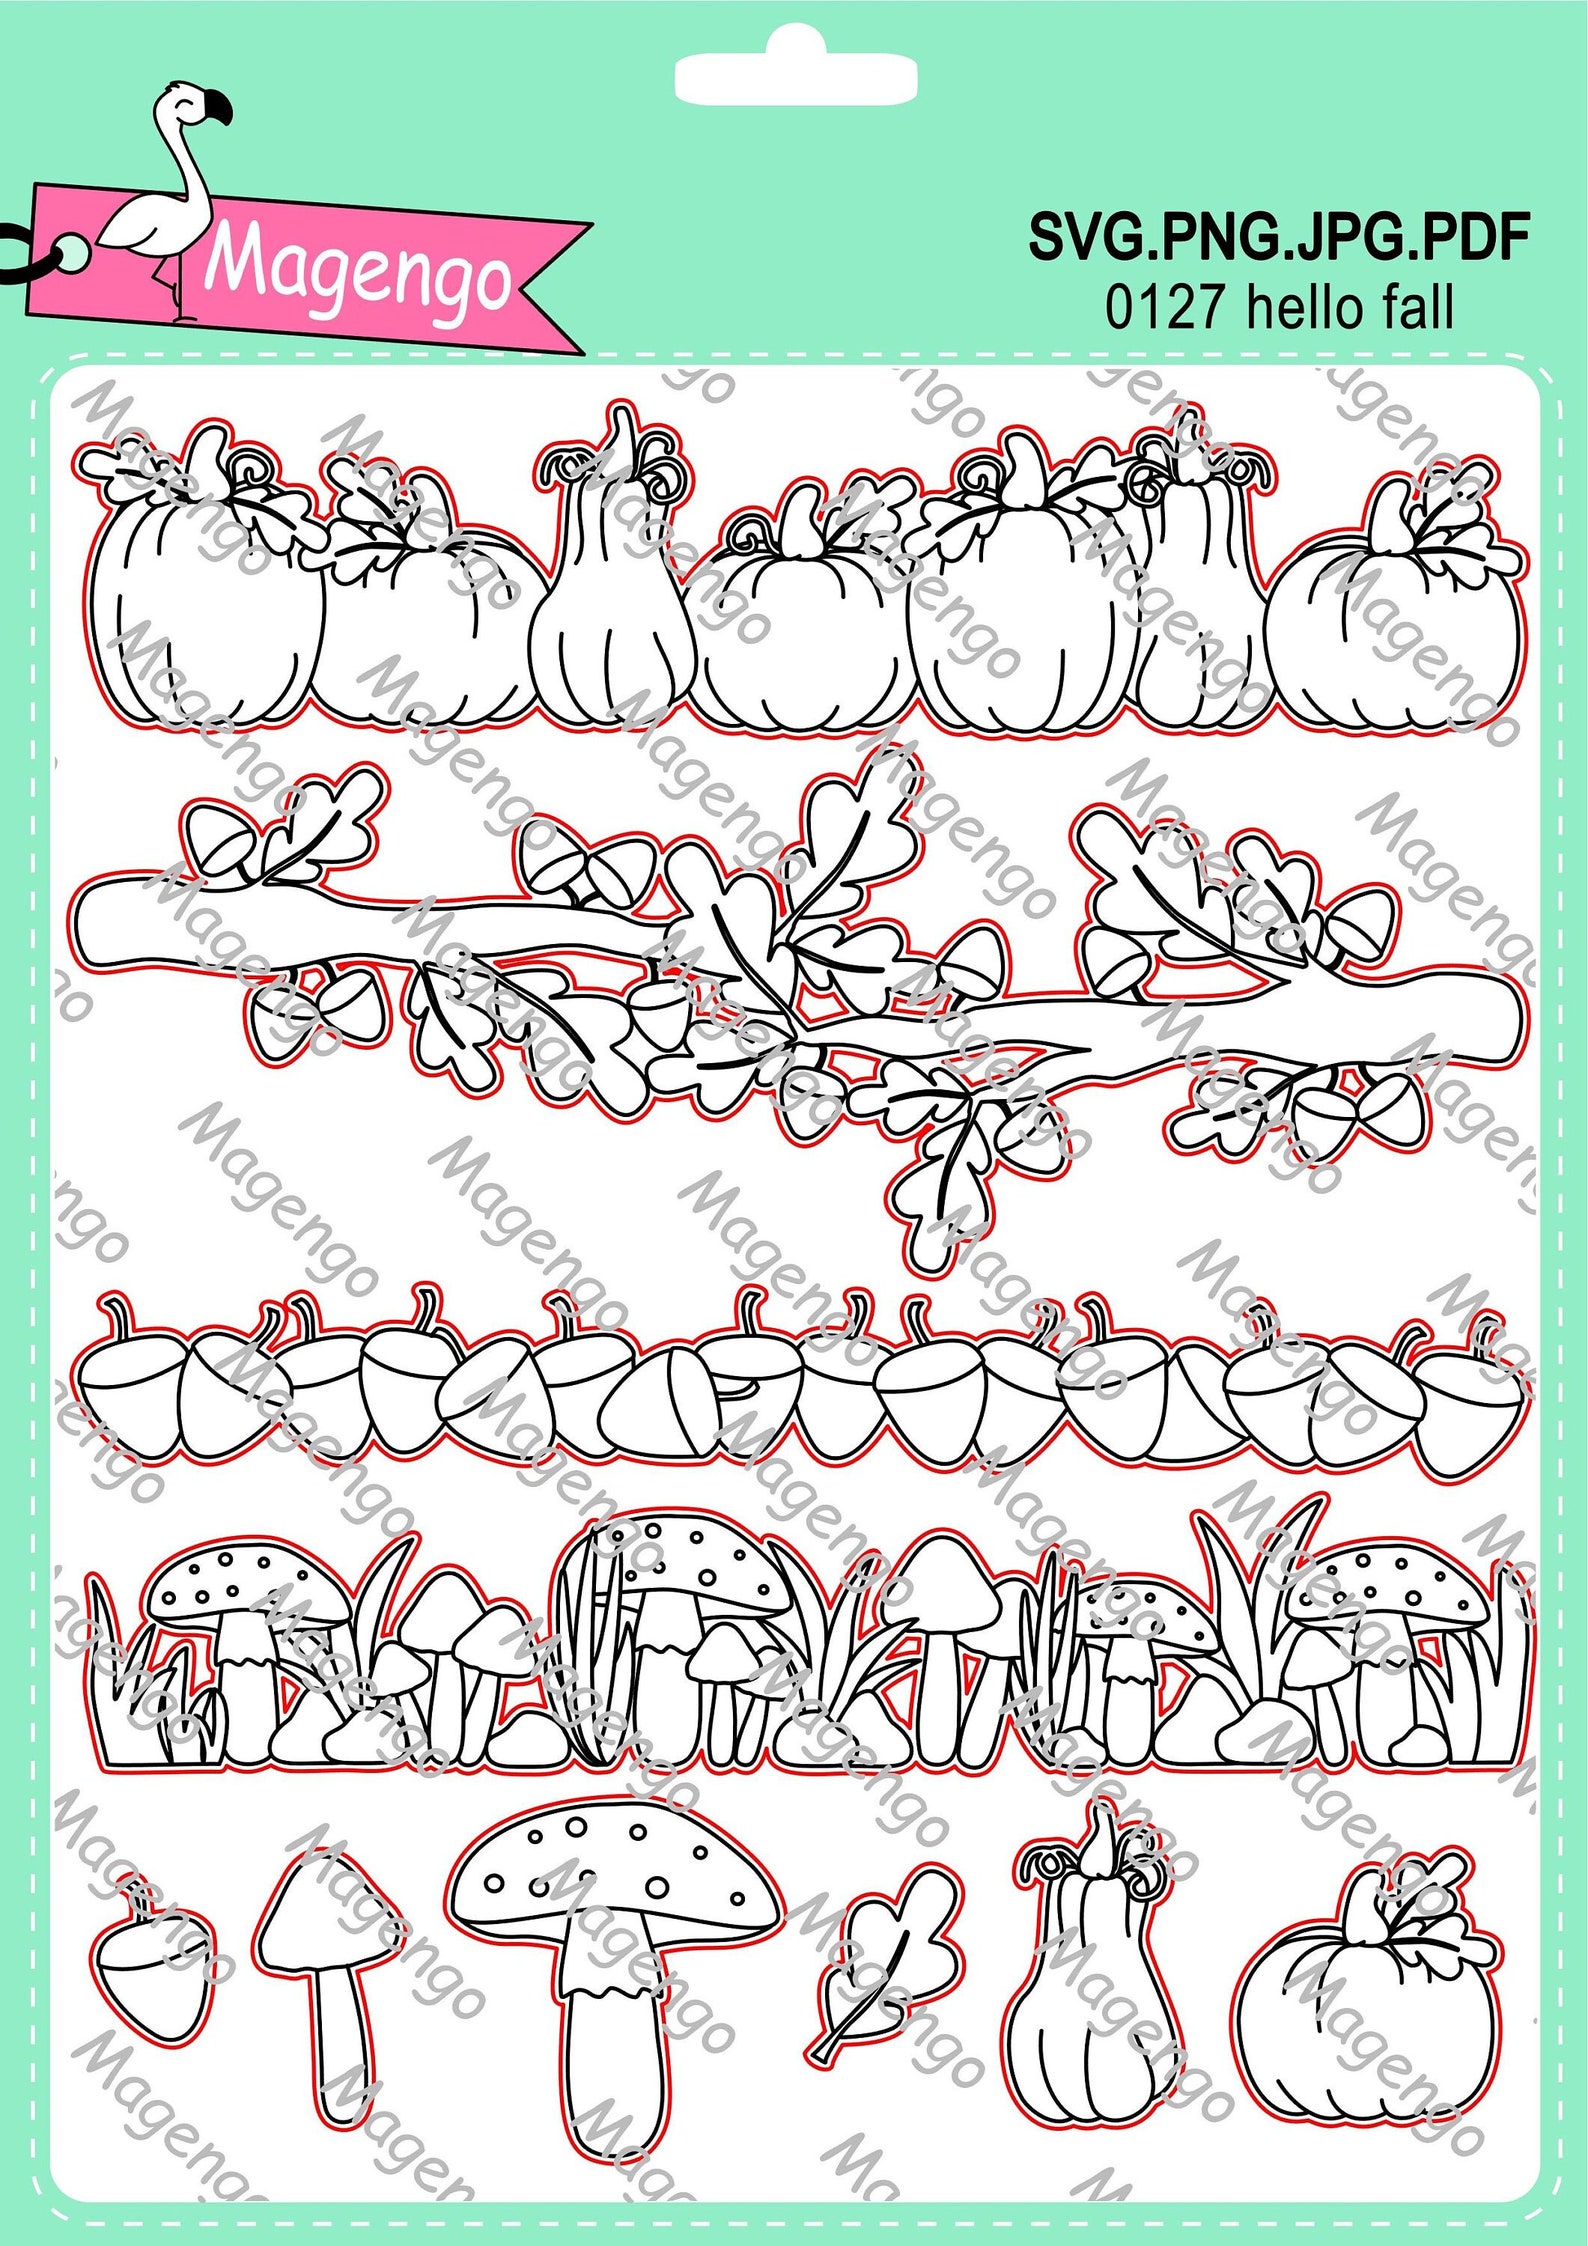
What for a wonderful New Release. I fall in love with this little dino stamp set, called Dino Rable Friend, I also use the Happy Fall Border stamp set. 


You can made so much cards with this sets. I will show you more in the next weeks. 

I used also leaves from Stamping UP and Distress Oxide Inks.

Wish you a wonderful Weekend :)

Crafty HUgs Ute


Samstag, 20. März 2021

Magengo Designs | Autumn Mood in Spring Version

  Hi, Ute here... hope you all are fine and healthy.

Today I come with a new inspiration. In Europe you will know it the April weather... I think we have it now, sunny, rain, snowy, stormy, warm, cold... all can change every day.

As I saw this cute stamp set I thought I need it, because this little cute HIPPO girl fits perfectly to this time.


I used follow product: 


I also use a cloud stencil, but use it in the wrong direction, so the clouds looks like raining clouds. I use a embossing folder from my stuff and a sentiment from Hero Arts. 


Hope you like my inspiration for this week. See you next week :)

Crafty Hugs Ute

Samstag, 13. März 2021

Magengo Designs | Marmalade Box

  Hi Ute here, today I want to share you another fun box. 


This time I use the Marmalade Box Die and the Hellebore Flower Stamp set to made this cute little gift Box. I love that I can oben the under side to put all goodies inside or outside. 

This is really a wonderful box, love it :)


I used follow items: 


I also add a ribbon from my stuff.

I hope you like this idea. 

Crafty Hugs Ute

Dienstag, 9. März 2021

Magengo Design | Bird House version

Hi, Ute here, with a new idea.

 I saw the scary house die and I thought it will be fit to the spring time too...
So my idea was born to make a spring version. 


I make a birdhouse from the scary version and add flowers and birds on it. 
What a wonderful box :)

I used follow products:


Hope you like my idea with the basket and I can't wait to see your inspirations. 

Wish you a wonderful weekend and  a great new week.

Crafty Hugs Ute

Samstag, 27. Februar 2021

Magengo | Easter Basket

 Hi, Ute here again with a new inspiration for you. 

This time I made no card, but a paper project. 


What a super cute basket and easy to make. I thought that I will compare this basket with whimsy stamps. 

I used follow products:


Sentiment  | Simon Says Stamp | Showers and Flowers


Hope you like my idea with the basket and I can't wait to see your inspirations. 

Wish you a wonderful weekend and  a great new week.

Crafty Hugs Ute


Samstag, 20. Februar 2021

Magengo | Happy Easter

  Hi, Ute here with a new inspiration. 


Today I want to share you a box card. I search a long to a box card and told my husband about the situation. So he created me one normal box in the silhouette program. I never thought that he know how this work, but he made this really fast. 

I cut all  things out and die cut the panels with a grass ie from my stuff and in the end of the box I die cut a cloud. I distress all the box and grass with green distress oxide ink and then the clouds.  

Now it is time to color the whole sheet from the easter secret stamp set (digital).


It made so much fun and the coloring was really fast. I used here my Alcohol Markers from Spectrum Noir Tri Blend Marker. After coloring I send all to my Silhouette and cut them out. It is fast and it is so exciting to look how it cut. Sometime I cut them out before I color, because my Silhouette have an own live and sometimes the cut not correct, maybe other people know this problem.


After cutting the images I arrange the super cute images into the box. I add an acetate strip behind the butterfly. So it looks like it is flying over bushes or bunnies. 


At last I die cut the sentiment from the set with a die cut from my stuff and finish the card.

I hope you like this idea  and I can't wait to see your inspirations. 

Wish you all a wonderful weekend and a great new week. 

Crafty Hugs Ute

Samstag, 13. Februar 2021

Magengo | Birthday Scout

 Hi Ute here, with a new inspiration.

Birthday Scout... is one of the wonderful stamp set from the New Release from this month.


I used follow product: 


Hope you like this idea ;)

Happy weekend and a wonderful new week... 

Crafty Hugs Ute


Samstag, 6. Februar 2021

Magengo | Love is in the Air

 Hi Ute here, with a new inspiration.

LOVE is in the Air... one of the wonderful stamp set from the New Release. 


I used follow product: 


I want to use all balloons from this set. So I print them all out and let it cut by my Silhouette., I also use the clouds and the birds. The sentiment is from Simon Says Stamp set "Envelope Greetings". I use paper from my stuff, I haven't no idea what brand it was. 


Hope you like this idea ;)

Happy weekend and a wonderful new week... 

Crafty Hugs Ute

Samstag, 23. Januar 2021

Magengo Design | Ballett Stage Shadow Box

  Hi, Ute here with a new inspiration. 

This time I show you a shadow box and add on from Lawn Fawn here, so it is a little bit faster, but if you have no dies for shadow boxes you can made itself. 

Magengo have also a Theater SVG set which I link below. 


I use here the Ballet Stage stamp set again, with all the cute bunnies. I add only two bunnies into the box, because you have trouble to see the bunny which is jumping, if I add at the front. 


I used follow products:


I also use Distress Oxide Ink, Lawn Fawn Shadow Box Card Die and addo-n  Shadow Box Card Theater, Ditstress Glaze and a sentiment from Simon Says Stamp "Tiny Words Faith".

Alternativ, you can use this die and create your own Shadow Box :)


As I made this card I thought to a family we know in USA. The parents wish to complete a family, but there was a problem. They have trouble to get pregnant. So it was a long way with prayers and waiting. God hear the prayers and give the family a gift. It is a girl, she love princess, singing and ballet. 
In Februar she will celebrate her 4. Birthday. I will send this card to her and hope she will like it. 

Don't give up, even if the the time is difficult. 

Wish you all a great new Week and stay healthy.

Crafty Hugs Ute

Samstag, 9. Januar 2021

Magengo Design | Hello card and Heart Box

  Hi, what a fantastic New Release this month. 

I fall in Love with this wonderful cute images. So you will see a few projects from me this month.

Today I show you a combination. 


I used for my inspiration follow products: 


I use also a sentiment from Simon Says Stamp: Tiny Words Christmas, WOW Sparkle Starlight, Sequins, Distress Oxide Ink and Circle Dies from Whimsy Stamps Shaker Square Die Set ands the Infinity Circle Dies from Hero Arts. 

How I made the Heart Box?

I use my Scan and Cut for this project. In the working space from Brother I prepare the cutting files. After I am finish I sent it to the machine. I cut out 2 border (one for the box and one for the lid), I cut out 4 normal hearts and two scalloped heart. I use white paper, because I wasn't sure, if I check all with build together. It is a little tricky. I began with the box bottom. Here I add the border inside one heart. I start from the top. As I finish one round I glue the top together. Inside from my Box I glue a second heart, so you can't see the ends, which hold the border to the heart. I made the same to the lid, but this time I glue it on the outside. I add also a normal heart to the top. My box is finish, but looks a little boring. So I decide to add the scallop heart to the bottom and to distress ink on the top. 

I glue it on the top and finished the box. On the heart I glue a little dancing bunny. 


I made a card to this project too. It is an easy card. I decided me to make a shaker card. So I distress ink  a circle with the same colors like the box and made with them a shaker element. Here I use Sparkles from WOW. I love the glowing halo effect from the Starlight glitter. 
I add the circle shaker in the mid of my card and add two bunnies and a sentiment on this top. The cards looks so empty, so I decided me to a second sentiment. At last I add a few sequins. 


Thanks for visiting the blog and for your lovely comment. 

Can't wait to see your inspiration. 


Crafty hugs and a wonderful new Week, Hugs Ute

Samstag, 19. Dezember 2020

Magengo | We are blessed

 Hi, ... and I come with a new inspiration for you.


Do you know the Christmas story? 

I grew up as a Christian. Every Christmas we remember to the brith of Jesus. They pink text is a text from the Bible, it tells the story of Jesus birth. I used a King James Version, maybe an older one. I have no idea which translation is easier to understand in English. 

"... and it came to pass in thoose days, that there went out of decree from Caesar Augustus, that all the worl should be taxed. This taxing was first made when Cyrenius was governor of Syria. And all went be taxed, every into his own city, Josef also went up from Galilee, out of the city of Nazareth, into Judea, unto the city of David, witch called Bethlehem. To be taxed with Mary his epoused wife, being great with a child.And so it was, that, while they where there, the days were accomplished that be should be delivered.  She brought forth her firstborn son and wrapped him in swaddling clothes and laid him in a manger, because there was no room for them in the inn.

and there were in the same country shepherds abiding in the field, keeping watch over their flock by night. The angle of the Lord came upon them and the glory of the Lord shone around them and the shepherds were very afraid.The angle said unto them, fear no, I bring you tidings of great joy, which shall be all to the people. For unto you is born this day in the city of David a Saviour, which is Christ the Lord. ... You shall find the babe wrapped in swaddling clothes, lying in a manger. And suddenly there was with the angel a multitude of the heavenly host praising God and saying, Glory to God in the highest and on earth peace, good will toward men. ..." 
LUKE 2 | 4-14 (KJV)

"... When they (the 3 wise men's) heard the king, they is departed. The star which they saw in the east went before them till it came and stood over where the young Child was..."
MATTHEW 2 | 9 (KJV)

I was inspired the the story, as I made this card... I think, that all saw the star in the east and all they which are follow found Jesus wrap in swaddling clothes and was lying in a manger. 


I need follow product:


time for coloring. I used Alcohol Marker. The Sentiment is from Simon Says Stamp "blessed".

How I made this card?

I add the fox and the hedgehog closely together on the left side from my card. I wasn't sure, which background I will color, thought on a star... I am a student from Sandy Allnock, let me inspire and learn a lot. So I found the raising star and thought it will be fit perfectly to the story and I try it with my Spectrum Noir Marker. I add shadow to the critters and finished the card with a little glitter to the star. I found a sentiment from my stuff and I use it with white embossing powder on the dessert bottom.


I wish you all a wonderful Christmas, be blessed and stay safe. 

I hope you like this idea. 

Hugs Ute


Samstag, 5. Dezember 2020

Magengo Snowflake Background Slimline Card

  Hi, today I want you show a quick card.


You need follow product for this card:

1. Snowflake Backgrounds
2. Glitter Paper, I use Pixie Dust from Lawn Fawn
3. white card stock size 8.5x7Inch, score at 3.5Inch
4. a Plotter, I use my Scan and Cut
5. Distress Ink and Blender brushes or Blending tool
6. Water or Water color is optional for give the background details, also a heat tool
7. glue 
8. use a sentiment form you choice, I use Stampin UP "Schneeflockenwünsche" 
(means Snowflake wishes)


How I make this card?

At first I load my SVG file to my work space on the PC and send it to my Brother machine. Then I add the glitter paper to the mat and feed the machine. I search the file and follow the instruction to cut the image. I cut both images the slimline and the other. So my machine needs 9 min to cut all. After cutting I take carefully the snowflake cuttings from the mat and save this for later. 

I use the paper and score it at 3.5Inch and use my bone folder for a better folding. After this I distress the paper with only 2 Distress INK Oxide- I used Mermaid Lagoon and Blueprint Sketch and distress the background. As next I use a water spray and going over the card. For the golden sprinkles on my card I use an old box (from my mail) and put the card into the box, then I use the watercolor GOLD. 
After this I use again my heat tool for dry. 

I use the precut Snowflake Background and glue it to the card. 

I stamped my image to a white card stock and use a fishtail die from my stuff to cut it out. I add the image with foam tape to the card and finished it.


Thanks for visit and for your lovely comment. 

Wish you a wonderful pre Christmas time and let you inspire. 

Can't wait to see your cards. 

Hugs Ute


Samstag, 28. November 2020

Magengo Frohe Weihnachten

  Hello Ute again, with a new idea from Magengo. Christmas comes soon and I share another Christmas card today...


How I made this card?

After the arranging the stamp images on the right place I print out the image on alcohol friendly paper, because this time I colored with Copic Markers. I made a simply sky, and colored than the houses and at last the bunnies and the moon, also the shadow. On the sky I add some white dots. 
I use again a German sentiment from Stampin Up and this means Merry Christmas and much luck in the New Year.


I use follow products: 


Thanks for visit the blog and for your lovely comment. 

Wish you a wonderful weekend, sending crafty hugs Ute

Samstag, 21. November 2020

Magengo Weihnachtspost

  Hi, Ute here for Magengo... with another inspiration...


How I made this card?

At first I open my page programm, because I work on a MAC, but it also works with Word on the Windows PC. There I open all images in PNG, which I like to use and change the size and sometimes the direction. So I arrange the images like I want, if I am like the scene I print it out, but before I must decide, which color medium I prefer for this card. On the picture you can see, that I prefer for this card alcohol marker... So I have printed out on alcohol friendly paper. 
Now I color the image and add details with my Luminace pencils. I also add glitter to the Christmas decoration (WOW Embossing powder) and I add snow appliqué to the hat at the bear. At last I use a white pen for details. I stamped a German sentiment to the card from Stampin Up... 


I use follow products: 


Thanks for visit the blog and for your lovely comment. 

Wish you a wonderful weekend, sending crafty hugs Ute