Welcome to my blog. It is time for a new inspiration.
Herzlich willkommen auf meinen Blog. Es ist Zeit für eine neue Inspiration.
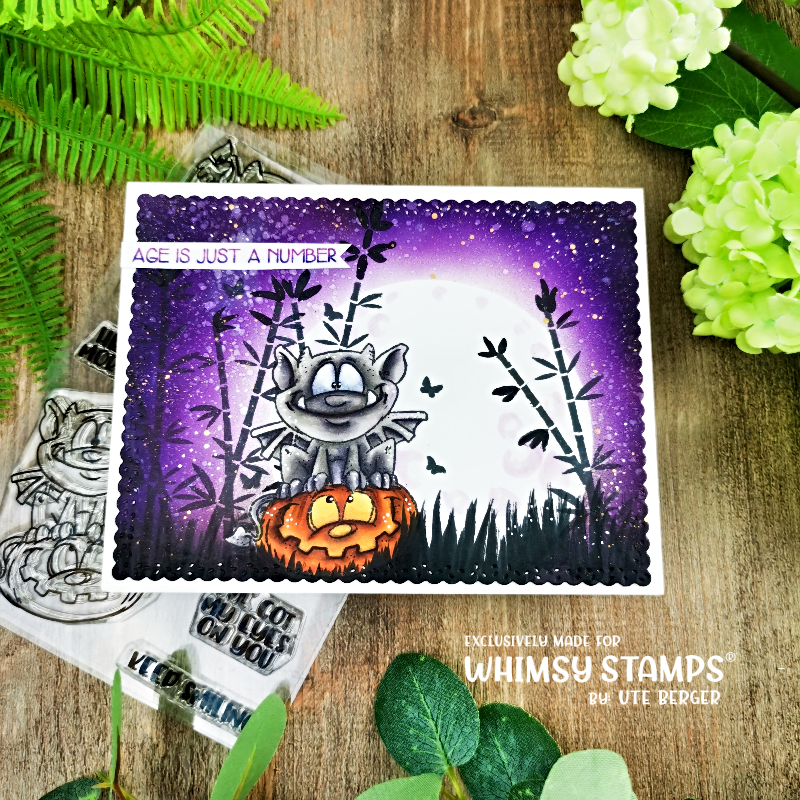
How I made this card?
Although I do not have the same airbrush, but the one from Copics. The advantage for me is that I can directly use the pens to make the background by placing them in the airbrush and do not need a refiller, which would cost me extra.
The process is otherwise exactly as described in the video, so I'll skip the instructions here. I masked the image with the moon and then sprayed everything. Then stamped a little, preferably with black and colored. Still a little accents in the moon painted, so that this comes out more.
Wie habe ich diese Karte gemacht?
Ich habe zwar nicht den gleichen Airbrush, sondern den von Copics. Der Vorteil für mich ist, dass ich direkt die Stifte benutzen kann, um den Hintergrund zu machen, indem ich diese in den Airbrush stecke und keinen Nachfüller benötige, was mir extra Kosten verursachen würde.
Der Ablauf ist sonst genau so, wie im Video beschrieben, deshalb verzichte ich hier auf eine Anleitung. Ich habe das Image mit dem Mond maskiert und dann alles besprüht. Danach noch ein wenig gestempelt, vorzugsweise mit Schwarz und coloriert. Noch ein wenig Akzente in den Mond gemalt, damit dieser mehr zum Vorschein kommt.

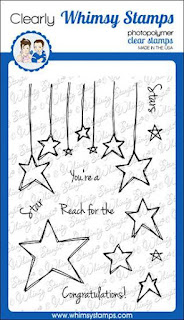
Products | Produkte
I link here all products, which I have used.
Ich verlinke hier alle Produkte, welche ich gebraucht habe.
Ich verlinke hier alle Produkte, welche ich gebraucht habe.


Thanks for visit my blog and for your lovely comment.
Danke vielmals, dass Du mich auf dem Blog besucht hast und für Deinen lieben Kommentar.