Hallo ich bin's wieder. Dieses Mal zeige ich Euch wieder eine neue Inspiration.
Hello it's me again. This time I show you again a new inspiration.

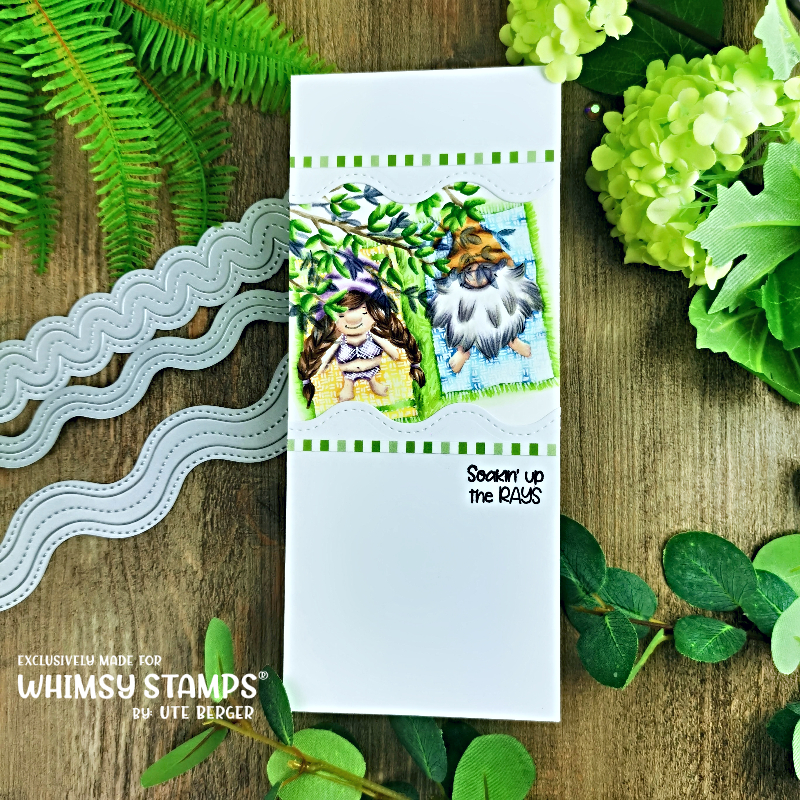
Nun möchte ich Euch ein wenig darüber berichten, wie ich diese Karte gebastelt habe. Die Produkte von Magengo Design werde ich am Ende des Beitrages verlinken. Zuerst habe ich die Motive gestempelt und dann maskiert. Nun den Stencil genommen und den Hintergrund disstressed mit Distress Oxide Inks (Salvaged Patina, Seedless Presserve). Danach die Motive coloriert. Einen Streifen gemustertes Papier unter das Image geklebt und das Alkoholmarker freundliche Papier mit einer Stanze ausgestanzt. Zum Schluss noch das Sentiment angebracht und ein paar Embellishments, sowie den Rohling auf eine A2 Karte aufgebracht.
Now I would like to tell you a little about how I made this card. I will link to the Magengo Design products at the end of the post. took the stencil and disstressed the background with Distress Oxide Inks (Salvaged Patina, Seedless Presserve). After that I colored the motives. Added a strip of patterned paper under the image and cut out the alcohol marker friendly paper with a die cut. Finally, attached the sentiment and applied a few embellishments, as well as the blank to an A2 card.

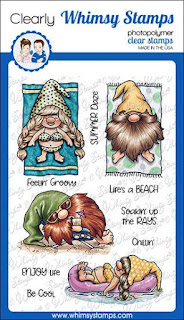
Products | Produkte


Hier geht es zum Shop. Einfach auf das Bild klicken.
This way to the store. Just click on the image.

Vielen Dank für Deinen Besuch auf dem Blog. Hinterlasse doch einen Kommentar mit Wünschen, welches Produkt du gerne sehen möchtest, wo Du eine Idee benötigst oder einfach wie dir die Karte gefallen hat. Wünsche Dir eine tolle Zeit, bis zum nächsten Mal.
Thank you for visiting the blog. Leave a comment with wishes, which product you would like to see, where you need an idea or simply how you liked the card. Wish you a great time, see you next time.