Samstag, 26. August 2017

Scrappers Delights New Release Fairy and Blooms

Today it's challenge time by Scrapper's Delights :)
  
Now it is time to go to the fantasy world with tropical flowers and meet Jasmine :) 


here is my inspiration card for you...


I colored all with my Prismapencils :)

Thanks for visit my blog and for leaving a lovely comment.


Freitag, 25. August 2017

Paper Smooches Monster Card

I made today a new card, used an background I made yesterday... for my scene. 

In the last time I used often the no line technique and I want to try how it's look with the monster stamp, that I used today (Paper Smooches Stamp Set "Falling For You" and "Chilly Chums"

What do you think?


How I made this card?

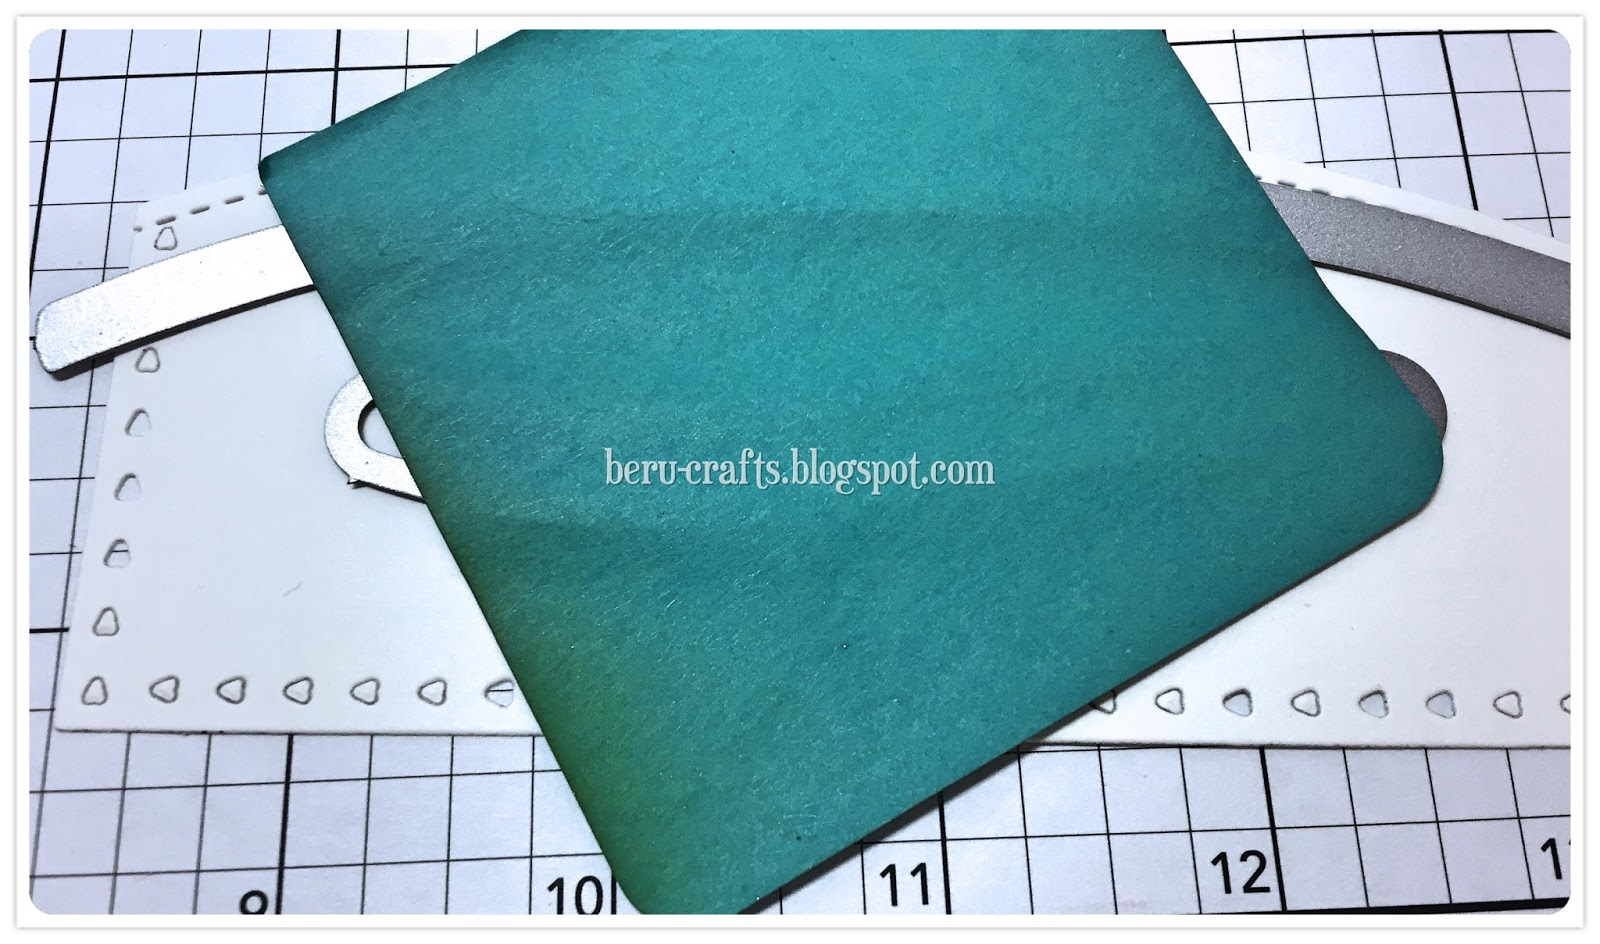
At first I cut out my background (2x), I used dies from Simon Say Stamps"Bundle of stitched frames",  After than I used my Distress Ink Oxide "twisted citron" and "salty ocean". The green on I cut again with the Stitched Border Die from Whimsy Stamps and on the blue I add with an Stencil from Willy and Walter "Big Bang Classic Star Creative" a few stars with the same ink, worked before. Now I used a white piece cardstock and distress this with Oxide "Vintage Photo". I let this ink dry, before I cut again the tree's. My tree Die comes from Lawn Fawn "Stitched Tree Borders". So I cut out the wooden tree's and from the remain of the green one the leaves for the trees... Now I work again on my sky background, I used the white golden Glimmer mist from Hero Arts (last monthly kit), to add a shimmer look. Again I have to wait till dry. Than I put all together and add it to my card.... My background is now finish....

Now the critters... I stamped both on white cardstock, I use mostly "Mix Media Imagine" from Canson and the Versafine onxy black ink. First I colored the images with the Dirsterss Oxide ink (monster-> twisted citron, bird ->fossilized amber and spiced marmalade)... at least I used my Prismacolor Pencil to give a better finished look.

Now I bring the critters to the background and add all to a clean white A2 card.

I love the sentiment so much and think it fits perfectly (embossed this with Ranger Liquid Platin Powder).

Do you love Papersmooches Stamps too? Now you have a change to win a gift card... How please look at this blog (click here)


Thanks for stoping by and visit my blog and for all your lovely comments :)

This card play's also by the current  PS Challenge "Anything goes"...


Camp Create Bonus: Gather ‘Round the Campfire

...it was a long day, but after working I have to made the last card from the current Camp Create, the BONUS card...

I tried the Ombrè technique, but at the bunnies are not so really possible... 


I used for this card the stamp set "Strike the Band", also a die from Mama Elephant and Stitched Border from Whimsy Stamps... I colored all with my Prismacolor Pencils. The ink in the background comes from Tim Holtz Distress Oxide...


Bonfire, Bonus

Donnerstag, 24. August 2017

Camp Create Day 5: Delightful Die Cutting

... and the last card from this Camp Create comes now...

I found in my stuff the Blueprints 26 Die and think this will work perfect for this challenge...


Camp Create Day5


I did it.... Yeah.... I crafted for every Camp a card.... Here is the view which was to do :)


Mittwoch, 23. August 2017

Camp Create Day 4: Monochromatic Magic

Whoohooo Monoromantic cards... It is a while ago since I made the last Monoromantic card... 

This time I used the Background Stamp " Happy Birthday" and the Stamp set "Swett BD Wishes"... I colored the girl with my Prismacolor Pencils and used a No Line Technique... 

What do you think, what she is saying/ singing?


Camp Creative Day 4

Camp Create Day 3: Background Bonanza

oh.... more rainbow colors... I love this... 

Hmmm, I have only 3 Stencils from MFT, so I used for this day "All lined up"

I made a rainbow background and add a little bit Glitterspray from the current Hero Arts Monthly kit on it,  it is so shiny :)

After than I decided to use a stamp set from MFT "Birds of Paradise" and color only in black/ grey... I also add little gold...


Camp Creative Day3

Camp Create Day 2: Magnificent Masking

an other day and I finished a card... this time we made an easy background with Distress ink...
I made this on a TAG... 

For the background on my card I used a stencil and Nuvo Gold... (so sorry, that you can't see the shimmer on the picture...)

Here is my card for today :)


Camp creative Day2

Camp Create Day 1: Inlaid Made Easy

time is running... I don't know, if I can made all cards... but it made fund, so I try it too...

I haven't scene dies, so it isn't possible to made this, like in the video showed, instead I use a background die for made an inlaid card...

I love Rainbow color, so it made a lot of fun...

Which one do you prefer?


Samstag, 19. August 2017

Gerda Steiner Monster Party

this time made Gerda Steiner one of the cutest monster ever... I like this little guy... So I used this Digistamp twice time's one bigger and one smaller... 

After I arrange both on my card base, I print out and color the background after a technique I learned from Sandy Allnock... The rainbow drops... I think it fits perfectly to this monster Party card. I used Distress Ink for watercolor.

My monsters I colored with Distress ink first an after than with my Prismacolor Pencils.  Also I add a few details with my white Gelpens... but look self...


Are they not cute?

Thanks so much for visit my blog and for your lovely comment. 

This card plays with the current challenge by Gerda Steiner.

Startklar?

Kennst Du das, Du willst ins Bett gehen und genau dann fällt Dir noch eine Idee ein, welche Du natürlich sofort umsetzen möchtest?
Genau das ist mir gerade passiert... und das ist dabei rausgekommen :)

Startklar? Lassens feiern!


Create a Smile ist zurück und macht eine Party, auch bastel-traum.ch verlost auf Facebook einen Stempel von Create a Smile :) 


Ich glaub dieser müde Vogel muss wohl ich sein lol...

Diese Karte nimmt an der Instagram Challenge teil...


Bis bald.

Create a Smile "Bad Day"
Create a Smile "Mini Geburtstag"
Create a Smile "Aus dem Hut gezaubert"
Create a Smile Tape
Ballon Die from Avery Elle
Create a Smile Stencil
Zig Clean color brushes
Fineliner
Woodenpaper

Freitag, 18. August 2017

Rainbow with Mix Media

Why do you not try to made a Rainbow card with stencils and Paste/ DIY Paste?

Here my first one... I haven't made a card yet...at this time this are only backgrounds... 


Rainbow Watercolor

...a few more cards with watercolor... I love this very much... and this idea was really cool...


Rainbow with Die Cut's

I used this time a detailed Die Cut (mine is from Hero Aerts).... I made only the backgrounds... I am not sure yet, how I will made the card...


Rainbow with different Ink

I few more cards...


a few backgrounds, I am not sure yet, what kind of card I will made...


Rainbow Inking with stencils...

Here I show an other kind with the Rainbow Technique... I used Stencils... 


Rainbow Backgrounds


Here I have made a few backgrounds  for the next cards...  The first cards I finished....


Dienstag, 15. August 2017

#56 anything goes Challenge by bastel-traum

Heute startet wieder eine neue Herausforderung bei
Today starts a new challenge by

baste-traum/ BLOG

Diesmal geht es ums Thema alles erlaubt. Eine Karte, ein Bild oder eine Geschenkbox... aber auch eine Einladung zum Essen, ins Kino, echt... Wie zeigst Du auf Papier, dass Du jemanden magst, welches Motiv wirst Du wählen? Ich bin schon ganz gespannt, auf Deine Inspiration.

This time it goes around the theme anything goes. A card, a picture or a giftbox... but why not a invitation to a restaurant/ in cinema/ etc.... Now I am curious, how will you show your friend your friendship/ love on paper? Which scene will you use?  I am glad to see your inspiration...


This is my inspiration:

I used a stamp from Simon says stamp "Look for the Miracles"

I used 3 different stamps
"Belindas Borders from Lawn Fawn"
"Borderlicious from Paper Smooches"
"Unforgettable from Wplus9"
...also Distress Ink from Ranger to make the rainbow effect. 


Danke für Deinen Besuch und für einen lieben Kommentar :)
Thanks so much for visiting me and for your lovely comment :)


# 98 Whimsy Challenge August 2017

Welcome to our challenge blog where the Digi Design Team will be taking it in turns every month to host a challenge. Our challenge begins today... You can find the other entries from the DT here.

When you take part in the challenge there is a chance to win a prize of ............


This month is the theme "Anything goes" ou must need one Whimsy stamp (if you want win)... Which one is your choice :)

Here is my DT inspiration to you: 


I use for this challenge images from the August New Release "Wind beneath my Wings", for the background a digitaler from the "School Time Paper Set" and a sentiment from the new set "School Time Sentiments". This time I color the image with my Zig Clean Color brushes, the shadow around the magic horse I used one pencil from my Prismacolor...

On my card you can see dots in the background and on the magic horse :)

Hope you will like it :)

Thanks for visiting my blog and for your kind comment...

Sonntag, 13. August 2017

Slider Card Tutorial Seal/ Penguin from Whimsy

Today I made a tutorial for you all and I hope you liked it...


I made a small film about my card and how I made it...  At first I print out my image on an cardstock, that you can use the Zig Clean Color brushes. I prefer Mixmedia from Canson. 


Now beginn to color… This was my color choice:
grey/ black tone:
010/090/ 097 for the penguin a little darker, as the seal
red tone:
260/ 022
green tone:
044/ 041/ 053
blue tone:
031/ 036/ 032
orange tone:
023/ 052/ 050
brown tone: 

062/ 072


After my coloring I add Liquid Appliqué for bring in texture on the cap's... It is like Magic... It change the structure for your eyes, if you use your heat tool...


...after them I fussy cut out my image, but be carful, because the rod is very thin....


Now I prepare my card background. I made two cuts from the same background it is also a Die from Whimsy Stamps called "Card Builder Many Thanks"


My second hill was to high so I improve it and I made also the slider cut… I hold all in place with a Post it…


... and on the other background I made a sky… For this I used my Puffy Cloud Border Die from Lawn Fawn und cut it to a cardstock… I used only two different  cloud cuts… This is my mask to bring on the ink from my mini cube Distress Ink  Tumbled Glass with a sponge… If you will finish, it will look like this…


I stamp the image from the MFT stamp Cooler with you on the front panel… with my Versamark, sprinkle Embossing Powder (silver) over this and heat embossed this…


It is time to put the card together…. for the slider I used 5 Rappen (Swiss 1 Cent :) and used the cut strip for add later the image an the back from the slider I used dopple sided tape… I glue on this two times dopple sided tape, so it is high enough… It is imprtant, that the slider can work, so you have to look that the tape is not to near… Than bring it on the sky background. On the front panel I add on the down side and on both laterally side dopple side tape… and bring it to the second layer…


Now add the seal, also with dopple sided tape on the paper cut, you have  to shorten it… and give the slide a try… it it works it is perfect, otherwise try till you have it…


That the heart is nearer by the seal I add a little piece of acetate behind the heart and the head from the seal… It is perfect, because you can’t see it…  But now the heart don’t fall into the card background :)


Bring this cool scene to your card base… I used a grey cardstock… (American A2 size)….


I find my background was so empty and I add a few trees and stamped a few birds… This is an optional step…

If you like a print version as an PDF, you can click here... and save your one :)


...and last but not least a small video only for you...


Thanks so much for visit my blog and for use my tutorial… I hope I have it written, that you can understand. If you have any questions, please let me know, so I can help you asap.  I wish you a lot of fun, to create your own Slider Card. If I made any mistake in the text, so sorry, English is my second language and I will never learn out :)


Material Recipe: