
Today I made a tutorial for you all and I hope you liked it...

I made a small film about my card and how I made it... At first I print out my image on an cardstock, that you can use the Zig Clean Color brushes. I prefer Mixmedia from Canson.

After my coloring I add Liquid Appliqué for bring in texture on the cap's... It is like Magic... It change the structure for your eyes, if you use your heat tool...


...after them I fussy cut out my image, but be carful, because the rod is very thin....


Now I prepare my card background. I made two cuts from the same background it is also a Die from Whimsy Stamps called "Card Builder Many Thanks"

Now beginn to color… This was my color choice:
grey/ black tone:
010/090/ 097 for the penguin a little darker, as the seal
red tone:
260/ 022
green tone:
044/ 041/ 053
blue tone:
031/ 036/ 032
orange tone:
023/ 052/ 050
brown tone:
062/ 072

After my coloring I add Liquid Appliqué for bring in texture on the cap's... It is like Magic... It change the structure for your eyes, if you use your heat tool...


...after them I fussy cut out my image, but be carful, because the rod is very thin....


Now I prepare my card background. I made two cuts from the same background it is also a Die from Whimsy Stamps called "Card Builder Many Thanks"
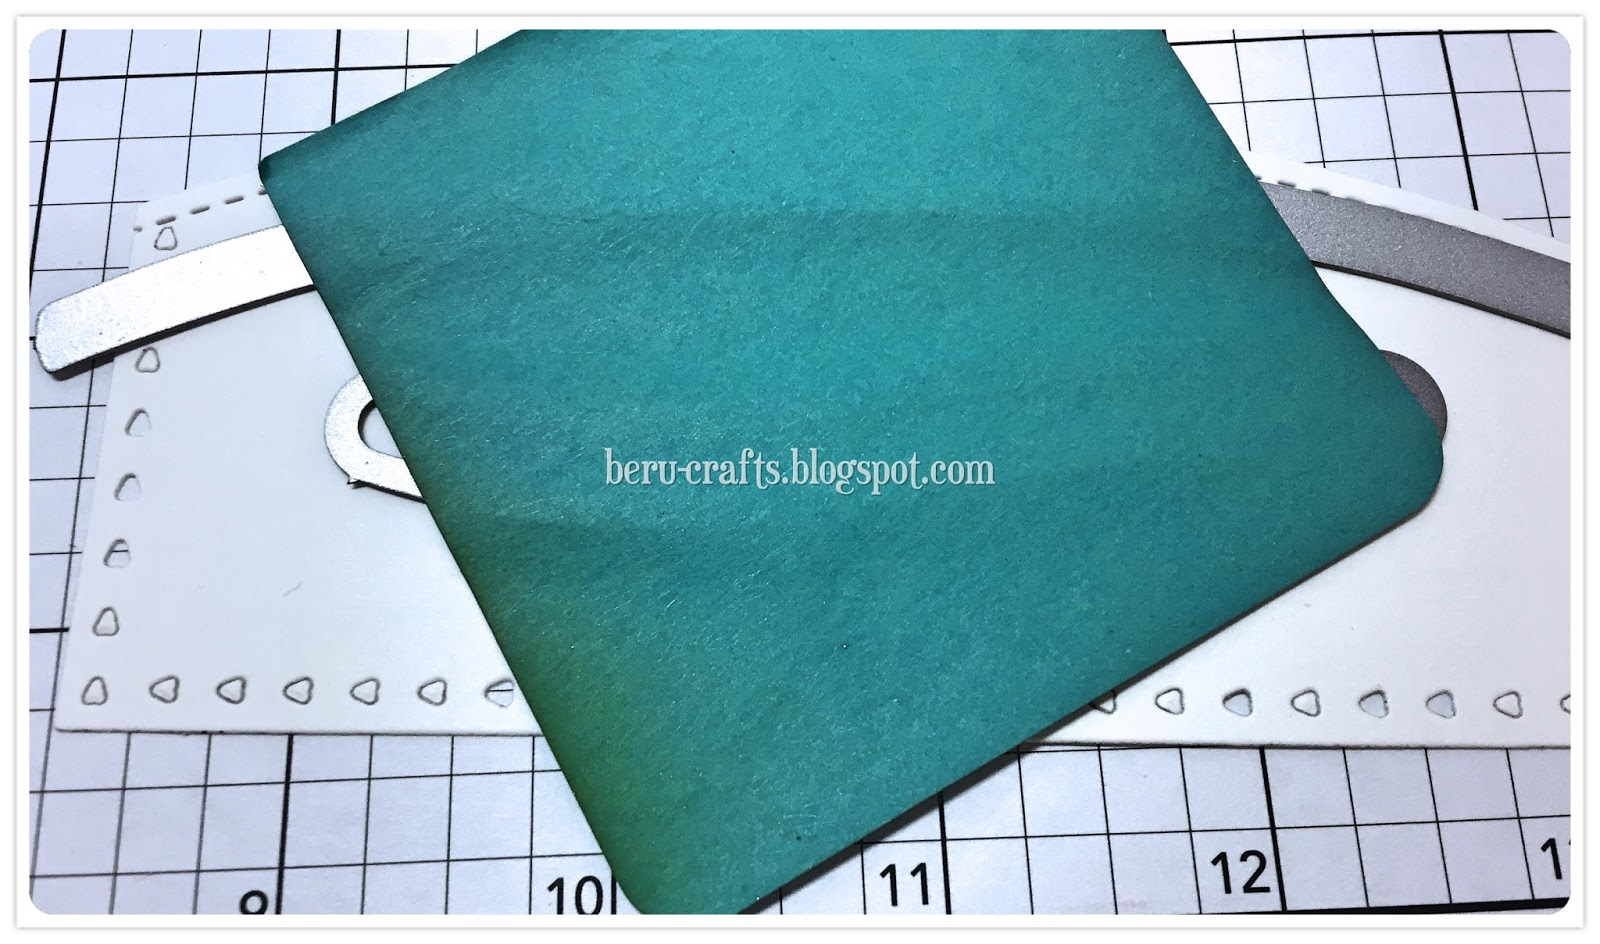
My second hill was to high so I improve it and I made also the slider cut… I hold all in place with a Post it…


... and on the other background I made a sky… For this I used my Puffy Cloud Border Die from Lawn Fawn und cut it to a cardstock… I used only two different cloud cuts… This is my mask to bring on the ink from my mini cube Distress Ink Tumbled Glass with a sponge… If you will finish, it will look like this…

I stamp the image from the MFT stamp Cooler with you on the front panel… with my Versamark, sprinkle Embossing Powder (silver) over this and heat embossed this…

It is time to put the card together…. for the slider I used 5 Rappen (Swiss 1 Cent :) and used the cut strip for add later the image an the back from the slider I used dopple sided tape… I glue on this two times dopple sided tape, so it is high enough… It is imprtant, that the slider can work, so you have to look that the tape is not to near… Than bring it on the sky background. On the front panel I add on the down side and on both laterally side dopple side tape… and bring it to the second layer…

Now add the seal, also with dopple sided tape on the paper cut, you have to shorten it… and give the slide a try… it it works it is perfect, otherwise try till you have it…

That the heart is nearer by the seal I add a little piece of acetate behind the heart and the head from the seal… It is perfect, because you can’t see it… But now the heart don’t fall into the card background :)

Bring this cool scene to your card base… I used a grey cardstock… (American A2 size)….

I find my background was so empty and I add a few trees and stamped a few birds… This is an optional step…
If you like a print version as an PDF, you can click here... and save your one :)
...and last but not least a small video only for you...
Thanks so much for visit my blog and for use my tutorial… I hope I have it written, that you can understand. If you have any questions, please let me know, so I can help you asap. I wish you a lot of fun, to create your own Slider Card. If I made any mistake in the text, so sorry, English is my second language and I will never learn out :)
Material Recipe:
- Digitalstamp „Led by Love“ from Whimsy Stamps
- Card Builder Many Thanks Set from Whimsy Stamps, I used the big one for create the backgrounds
- Stitched Border Trio from Whimsy Stamps to create the hills
- My Favorite Things Cooler with you card kit (not available), but you can buy the items you need separately. I used follow products „Winter Trees“ for the background, „Cooler with you stamp“ sentiment and „ Hit the Slopes“ slider die. For the slider I used the Slider Elements.
- I add (optional) a few flying birds in the background from an other kit from Hero Arts „My Monthly Hero Kit“ June 2017 (sold out), but you can add other kind of birds or you can have a wonderful background without birds
- Zig Clean Color Real Brushes, Waterbrush, Liquid Appliqué, Heat Tool, Scissor, Big Shot, Puffy Cloud Borders from Lawn Fawn, Distress Ink Tumbled Glass, Versamark, Silver Embossing Powder bought it by bastel-traum.ch
Auf diese raffinierte Idee bin ich nicht gekommen, vielen Dank für den Tipp!
AntwortenLöschenWieder Mal eine süße, traumhaft colorierte Karte, liebe Ute!!!!
LG und einen schönen Sonntag :-)
Hallo Sandy... Danke für Deinen lieben Kommentar.... Freu mich schone eine Karte von Dir zu sehen... Ebenfalls einen wunderbaren Sonntag und bis bald :) Liebe Grüsse, Ute
LöschenDeine Karte ist total süß und so wunderschön coloriert. Du hast dir so viel Mühe mit der Anleitung gemacht, großartig! Bin begeistert.
AntwortenLöschenAlles Liebe Laura
what a clever design! Your coloring is wonderful on this!
AntwortenLöschen